
Felt donuts can be a fun soft toy for children, and can also be used in your sewing or craft room as a whimsical pincushion. This tutorial will show you how to make a felt donut that is so cute and tasty that you have to remember not to try eating it.
In this tutorial we are using our Felt Mini Donut Kit. Our kit includes everything you need to make this project; including the templates and printed instructions. However, you can follow along with this tutorial and use any felt you may have on hand. In just a few easy steps, you will have a project you will love or can gift to someone special.
Materials Needed
- Main Colour Felt: 5″ x 10″ (12.7 x 24.4 cm) piece of felt
- Accent Colour Felt: 5″ x 5″ (12.7 x 12.7 cm) piece of felt (topping)
- Embroidery floss in the same colour as main felt (donut)
- Embroidery floss in the same colour as accent felt (donut topping)
- Embroidery Floss in assorted colours (sprinkles)
- Stuffing
- Embroidery Needle
- Scissors
- Pins
- Fabric Marker (optional)
- Paper and Pencil (optional)
Create Your Template
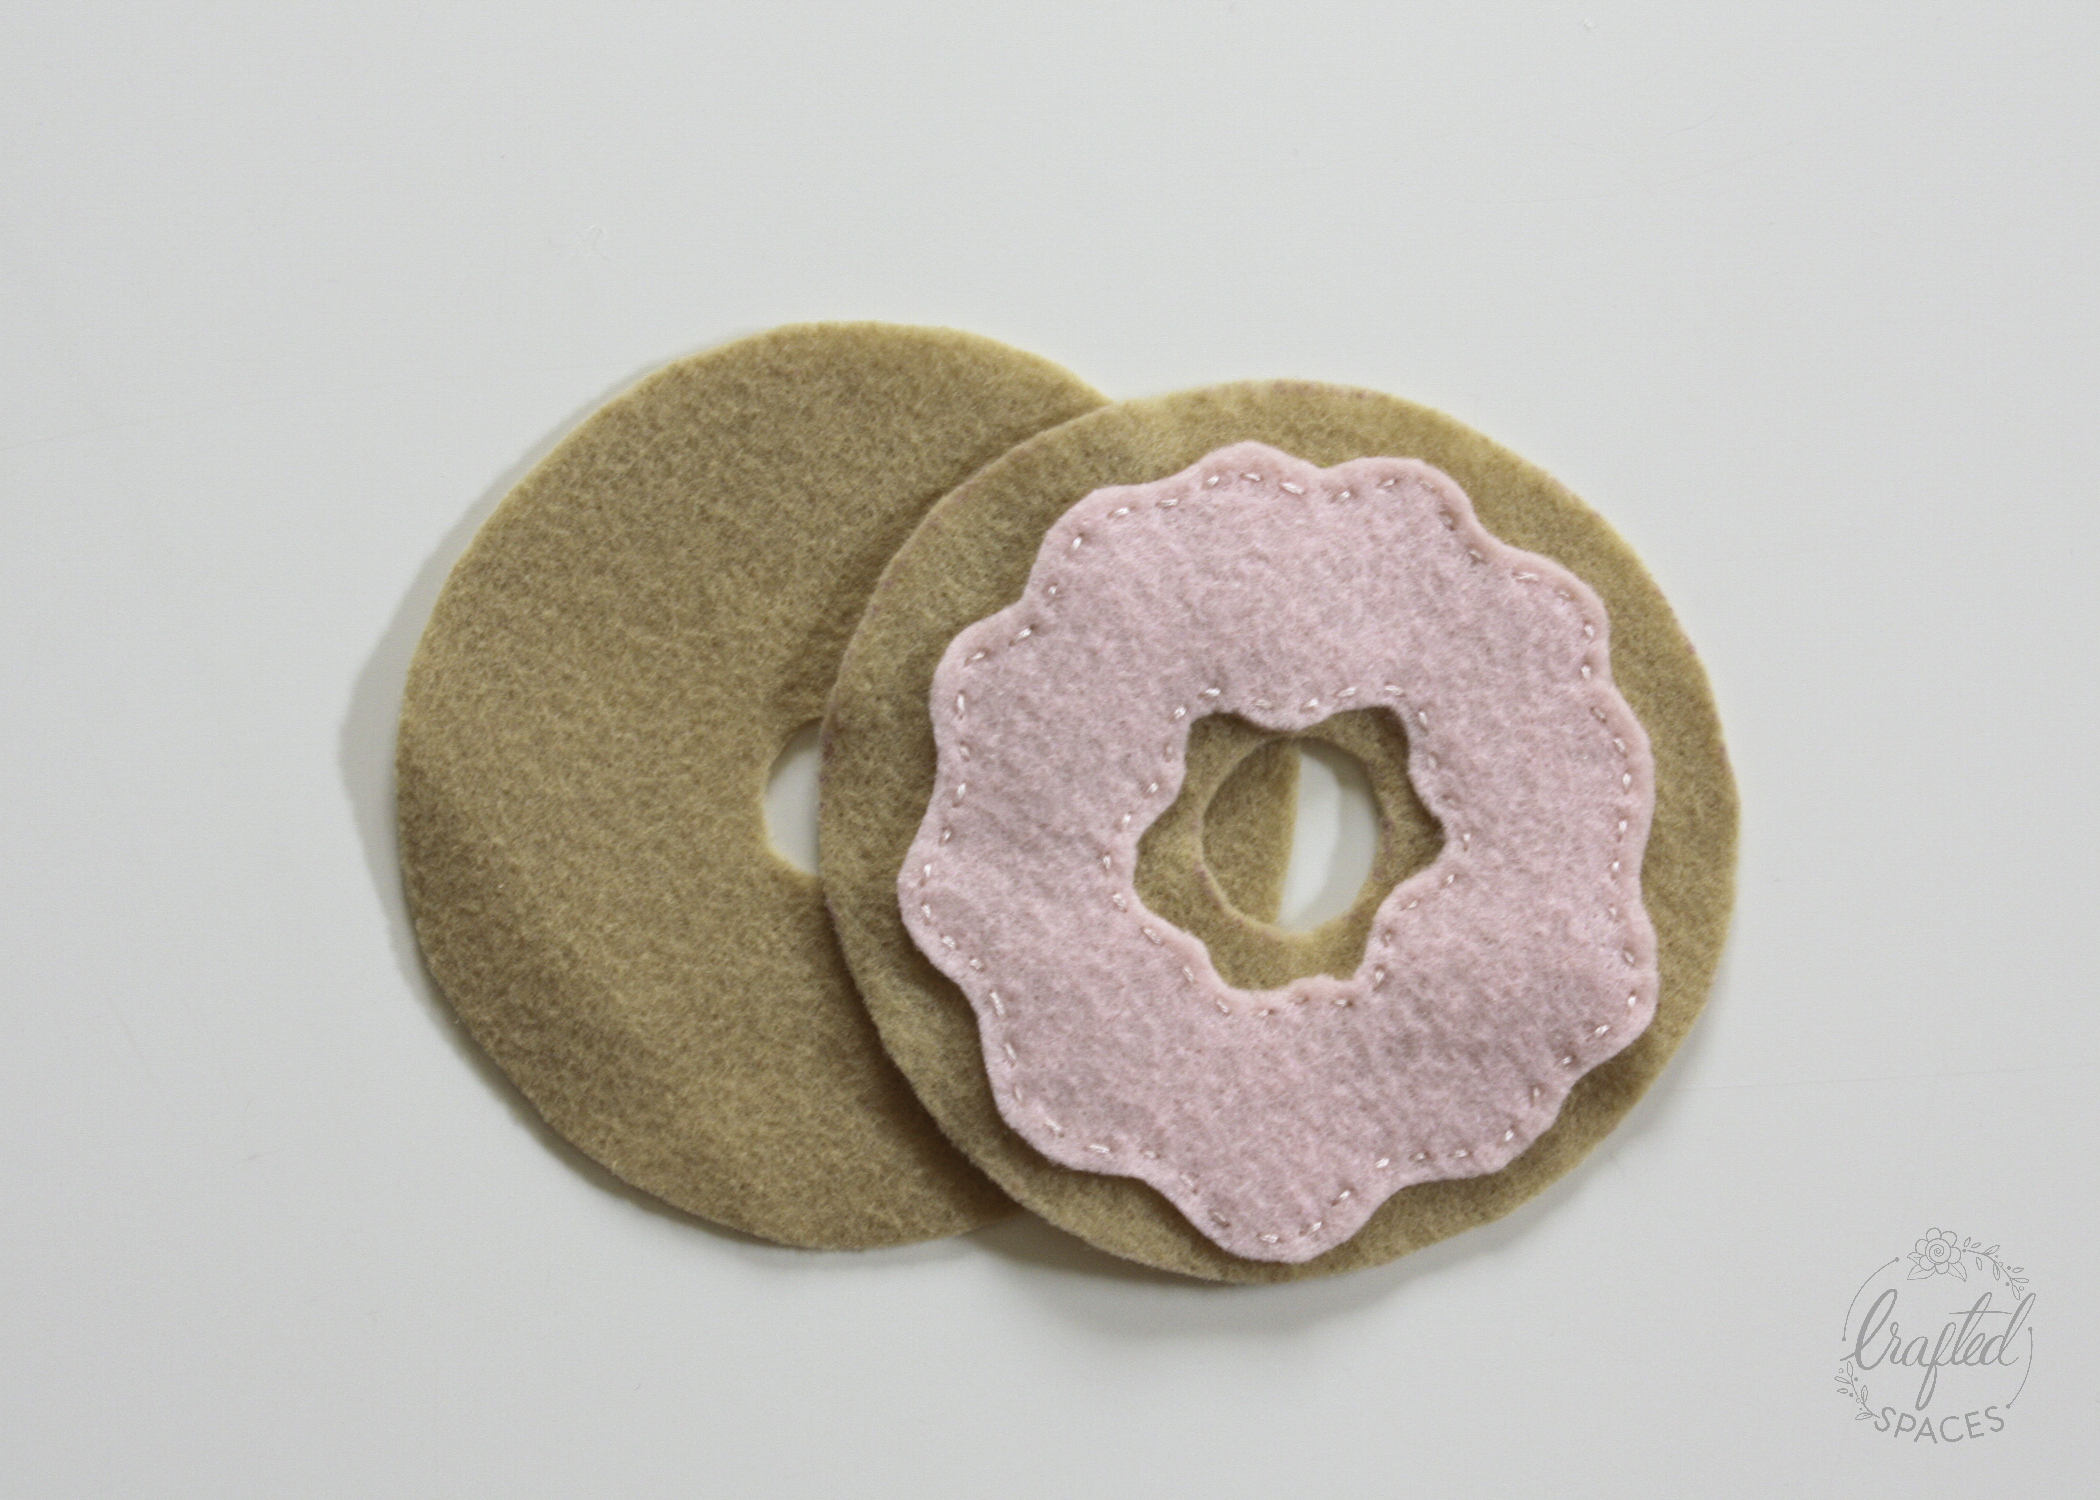
Draw a circle the size of a donut, then draw a smaller circle in the middle for the donut hole. This will be the template for the main part of the donut. To create the topping for the donut, draw an irregular shape just a tiny bit smaller than the size of your larger circle. Leave an irregular opening in the middle of the topping that is a bit bigger than the middle of the donut.
If you have our project kit you can transfer the templates onto your felt. You can also cut out the templates and pin them onto your felt pieces for cutting. The project kit includes a template for the donut and two different toppings to choose from.
Prepare Your Embroidery Floss
Take a length of the embroidery floss (eg. same colour as topping), separate three strands of thread and gently pull them apart from the rest. This will divide the floss in half and create two sets of three thread. Thread your needle leaving one end of your floss shorter than the other. You can choose to knot the long end of your floss close to the end.
Instructions
Step 1
Lay the main donut template on the main colour felt and cut two pieces for the donut (top and bottom). Then lay the topping template onto the accent colour felt and cut one piece for the donut topping.


Step 2
Using three strands of embroidery thread, attach the donut topping to the top layer of the donut using a small running stitch. Remember to leave the hole in the middle visible for later stitching. You can use the same colour embroidery floss as the topping or choose another colour.

Step 3
Using three strands of embroidery thread in assorted colours, stitch the sprinkles using a random running stitch. Stitch through the two layers of the felt.

Step 4
When you have your desired number of sprinkles, attach the top and bottom layers of the donut using a small running stitch. Start in the middle of the donut, then stitch around the outer edge of the donut. Leave an opening wide enough on the outer edge to fill the donut with stuffing.

Step 5
Fill the donut with the desired amount of stuffing, then stitch the opening closed using a running stitch.

Enjoy your donut!
*We will love to see how your donut turned out. Share your projects on social media with #cssewandcraft.